
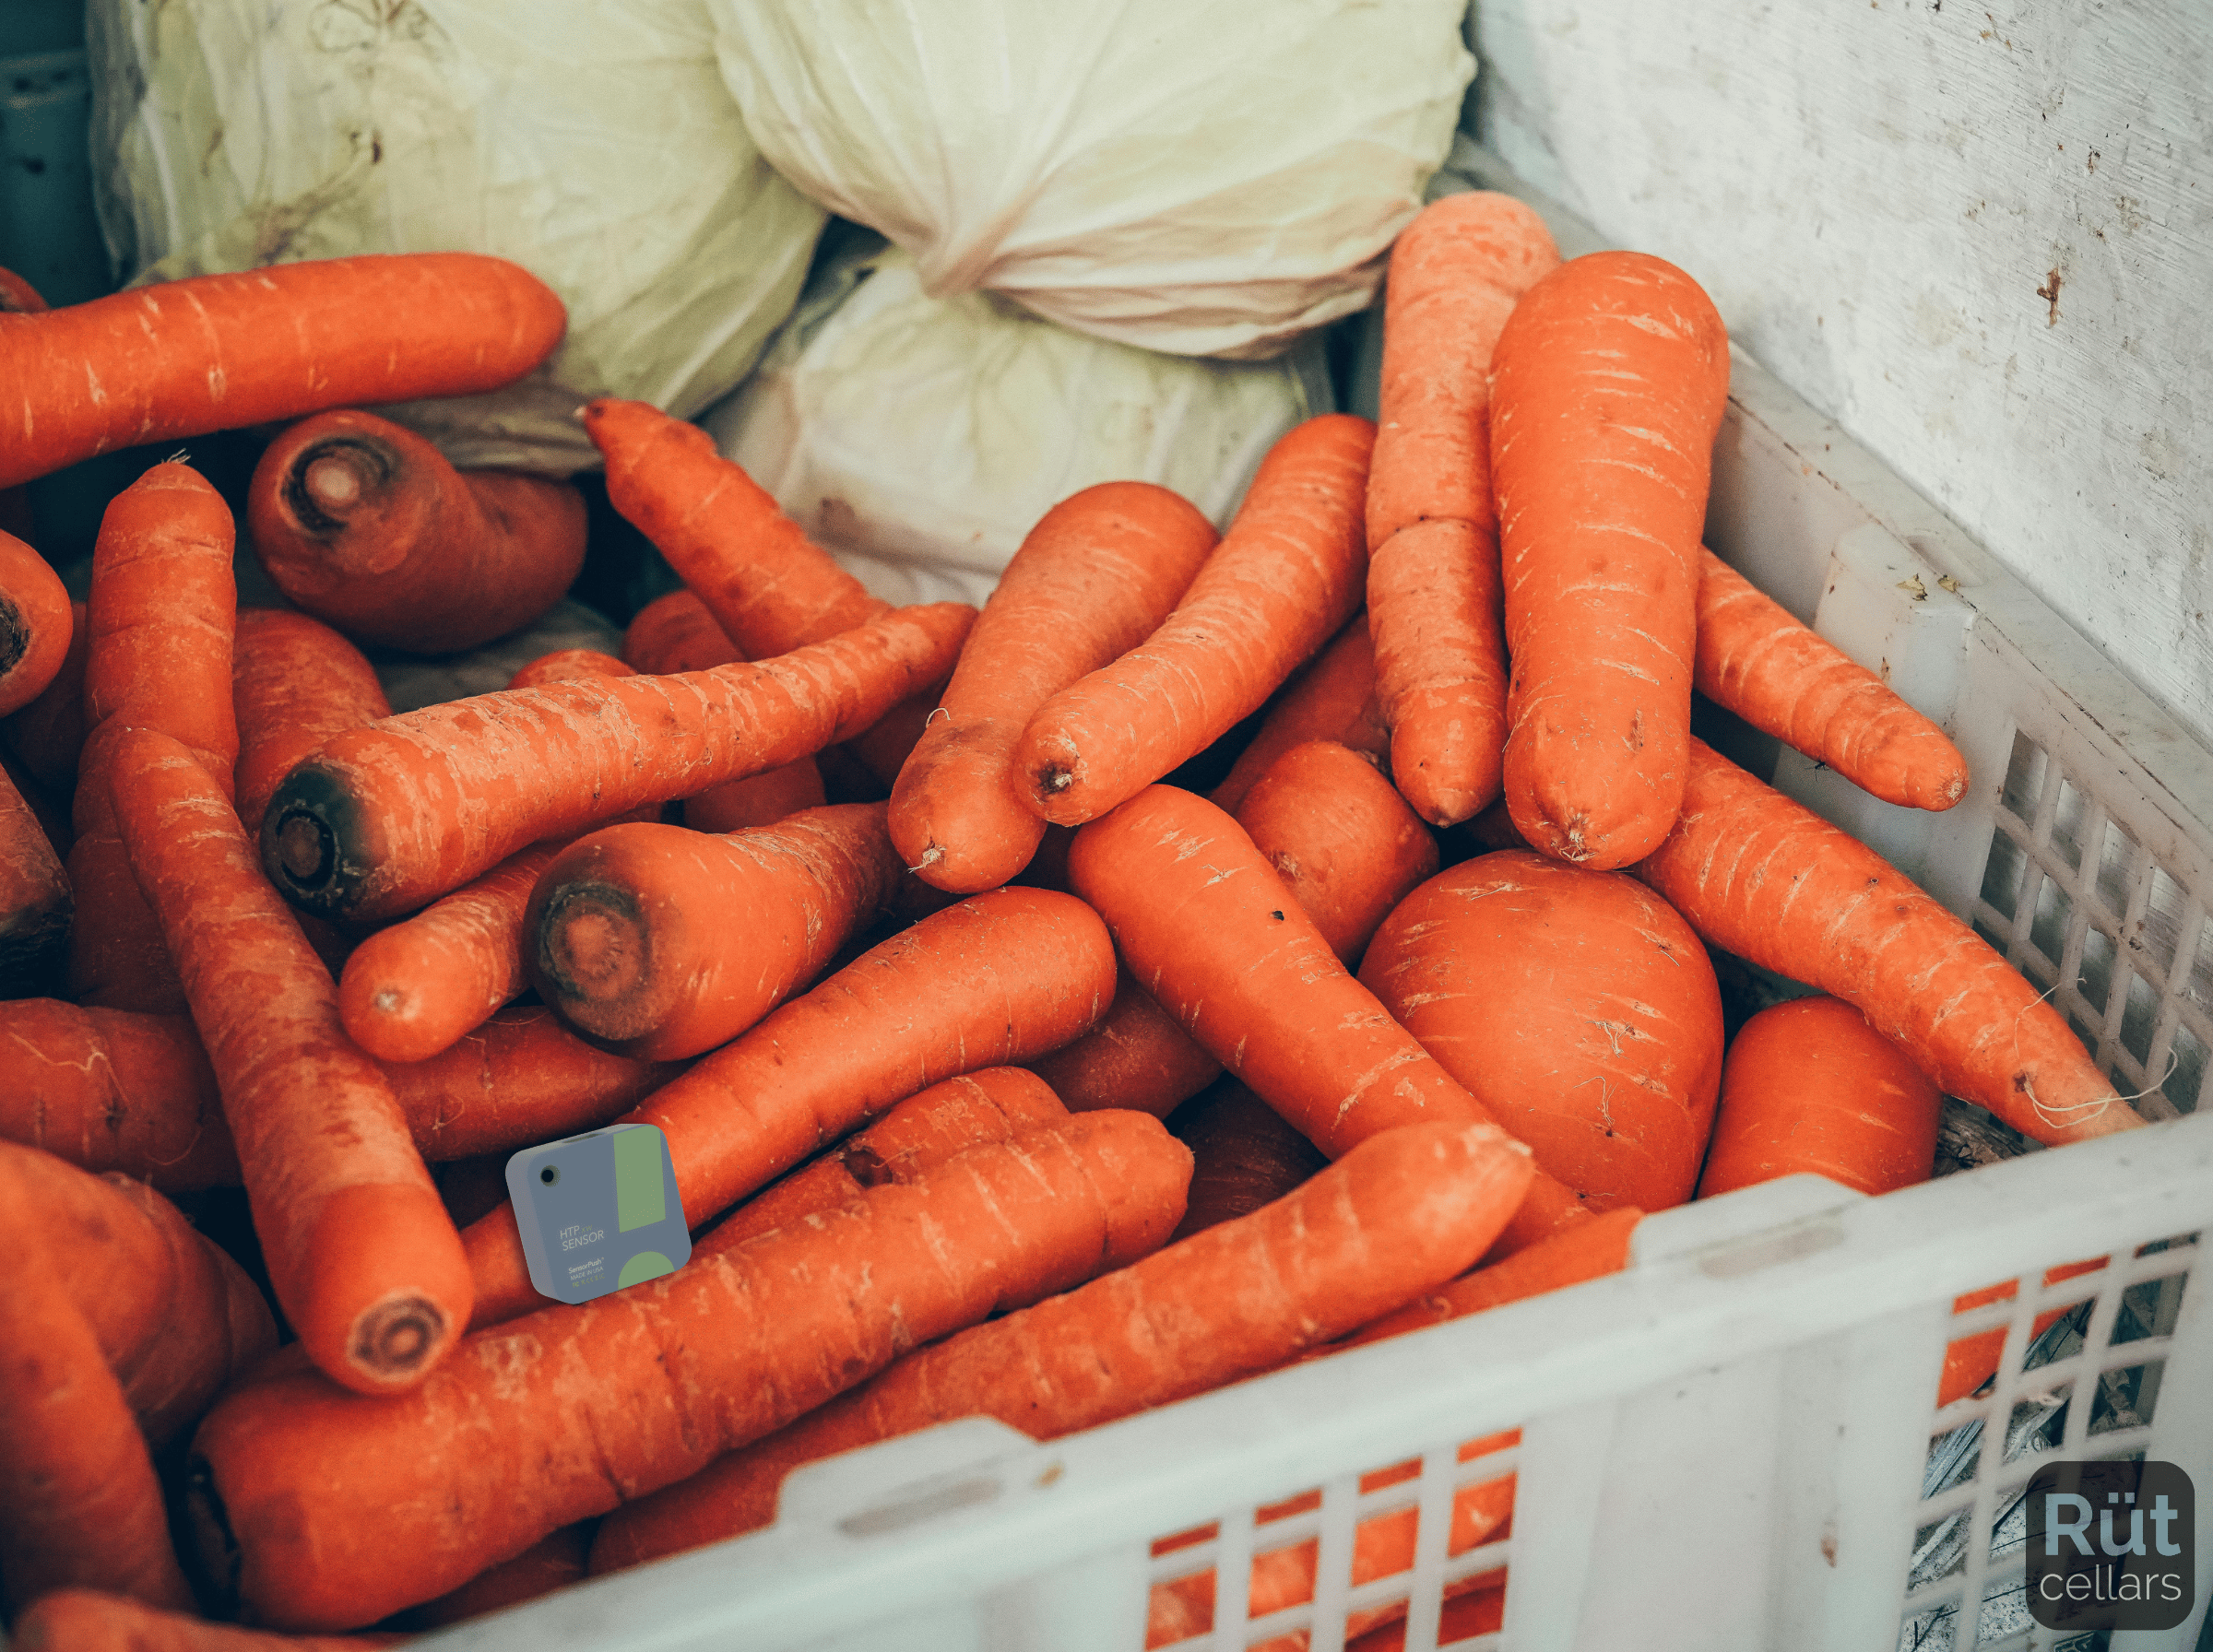
Checking Your Storage: Simple Observation vs. Sensors
Learn what to look and smell for in your storage space, when a basic thermometer helps, and when observation alone is enough to protect your harvest.
You're a few weeks into your first real storage season. The bins are in, the crops are separated, and the space feels cold when you open the door. Then you crouch down, peer at the carrot bin, and realize you have no framework for what you're actually looking for. A couple of carrots look slightly softer than they did at harvest. There's a faint haze of condensation on the bin lid. Is that normal? Is something wrong? Do you need to buy a sensor to know?
The answer is no — at least not yet, and possibly not at all. Vegetable storage monitoring doesn't require equipment to be effective. Observation is the foundation of every reliable checking routine, and your eyes and nose will surface most problems before they spread if you know which signals to read. According to University of Maine Cooperative Extension, storage losses from improper handling range from 10 to 40% — not because home gardeners lack sensors, but because conditions drift without anyone noticing in time.
This guide gives you a framework for how to check vegetable storage: what signals mean what, where instruments earn their place, and how to build a realistic routine. If you haven't yet worked through Setting Up Your Home Storage or Managing Ethylene Conflicts in Home Storage, those guides lay the foundation this one assumes.
What Your Eyes and Nose Tell You First
A slow walk through the storage space — bin by bin, unhurried — will surface the most common problems without any instruments at all. You're looking for five specific signals, each tied to a cause and a first action.
Shriveling or surface wrinkling on carrots, parsnips, or beets means the crop is losing moisture faster than the space replaces it. This is a transpiration problem: air that is too dry, moving too fast across the crop's surface. UMaine Extension identifies high air velocity as a primary driver of this kind of water loss. The response is to slow air movement across the bins, add moisture to the space (damp sand packing works well for root crops), or seal the bins more closely.
Condensation on bins or on produce itself is the opposite extreme — too much moisture entering the space, usually from warm air meeting a cold surface. When outside air warmer than the storage zone enters and contacts cooler walls or bins, it drops its moisture there. Check whether the space is sealing properly and whether you're ventilating at times when outside air is warmer than the air inside.
Sprouting on potatoes or onions is a temperature signal. These crops sprout when conditions are consistently warmer than their target range. UMass Extension places potato storage at 40–45°F; anything consistently above that pushes them toward active growth. If you see new sprouts, the space is too warm for that crop. Ventilate if outside temperatures allow, or move the bin to a cooler area.
Soft spots, off-color patches, or off odor mean decay has started. Remove the affected item immediately — out of the storage space entirely, not just to one side. Nebraska Extension advises prompt removal of decaying produce as the primary defense against spread. A decaying crop releases ethylene and raises the decay load in its zone; one soft carrot left in the bin can accelerate softening in the items around it.
Yellowing leaves on cabbage or other stored greens may be ethylene exposure or an early temperature or humidity deviation. Before adjusting conditions, check whether an ethylene-producing crop — apples, pears, or tomatoes finishing their ripening — has ended up in the same zone. If the placement is the problem, ethylene is the more likely cause. See Managing Ethylene Conflicts in Home Storage for the separation framework.
Here's the full map at a glance:
| Signal | Likely Cause | First Action |
|---|---|---|
| Shriveling, surface wrinkling | Low humidity or high air velocity | Reduce air movement; add moisture to the space |
| Condensation on bins or produce | Warm air entering cold space | Improve sealing; adjust ventilation timing |
| Sprouting (potatoes, onions) | Temperature too warm for crop | Ventilate or relocate to cooler area |
| Soft spots, off odor | Decay beginning | Remove affected item immediately |
| Yellowing leaves (cabbage) | Ethylene exposure or condition drift | Check for ethylene sources before adjusting conditions |
Walk through these five checks and you've done the most important monitoring work available. Most weeks nothing will be wrong — and that's the point. Confirmation that the space is stable is worth the time.
When a Thermometer Becomes Worth It
Here is the precise limit of observation: you can feel that the space is cold, but your body can't reliably distinguish 36°F from 44°F. That 8-degree difference falls within what registers as "cold," but it spans the gap between ideal conditions for root crops and conditions that are consistently too warm for them.
UMaine Extension identifies three temperature bands for stored produce: cold (32–36°F), suited for root crops and brassicas; cool (40–55°F), suited for potatoes and similar; and warm (55–60°F), suited for cured alliums and hard squash. UMass Extension provides crop-specific targets within those bands. Without an actual reading, the only signal you get when the space drifts out of range is the damage that drift causes — shriveling, sprouting, premature softening. By the time the crop shows you the problem, weeks of suboptimal conditions have already accumulated.
A basic thermometer closes this gap. Placed inside the storage space at crop height — not at the door, where temperatures fluctuate every time air moves in and out — it gives you a number to compare against the target range. When it reads within a few degrees of where it should be, the space is working. When it reads consistently outside the range, you have reason to act before the damage is visible.
This is when a thermometer earns its place: not as a monitoring upgrade, but as the only tool that tells you what your body can't. At home scale, a basic dial or digital unit is sufficient. You don't necessarily need wireless connectivity or data logging to know whether your carrot storage is at 34°F or 42°F.
When a Hygrometer Adds Value
Temperature is measurable by sensation in the broadest sense — cold, cool, warm. Humidity offers little equivalent signal. Condensation tells you the extreme wet end; shriveling tells you the extreme dry end. The entire middle range, where crops are slowly losing quality in conditions that feel fine, is invisible.
UMass Extension gives crop-specific relative humidity targets: carrots and cabbage need 98–100% RH; potatoes need 90% RH; winter squash does best between 50–75% RH. A carrot bin sitting in 65% RH is losing moisture faster than it should. A bin of winter squash in 90% RH is too wet and at risk of surface decay. Neither condition announces itself until quality has already degraded.
A combined thermometer/hygrometer unit gives you both readings in one device. If your temperature is confirmed and your crops are looking stable, there's minimal urgency to add it. But if you're seeing unexplained shriveling or early softening and the temperature is in range, a humidity reading will tell you whether conditions — not handling or harvest quality — are the cause.
As with the thermometer, placement matters. Measure where the crop lives — at bin height inside the storage zone — not at the door or near an exterior wall. The microclimate the produce is actually experiencing is what you want to read, not the transitional air that moves through when you enter.
Normal vs. Worth Acting On
Most of what you observe in a healthy storage space is normal variation. The goal is distinguishing steady-state from a developing condition problem. Here's a practical decision framework for each of the four key variables:
Temperature within a few degrees of the crop's target band, shifting gradually as outside temperatures change, is expected. Monitor it. Temperature that sits consistently outside the target band over multiple visits — not a single anomalous reading, but a pattern — is worth addressing: ventilate, add insulation, or relocate the crop to a better-suited area.
Humidity fluctuates seasonally. What you're watching for is a trend. Consistently low readings paired with accelerating shriveling call for more moisture in the space. Consistently high readings paired with condensation or surface softening call for reducing moisture sources or improving air exchange.
Crop appearance changes slowly in well-maintained storage. Minor surface aging consistent with the season is normal. Changes spreading rapidly across a bin, or showing up in multiple bins in the same zone, suggest a condition problem — investigate before it reaches the wider crop.
Decay: any item with soft spots or off odor comes out immediately. Nebraska Extension is direct on this: remove decaying produce promptly to prevent spread. Multiple items decaying in the same zone at the same time points to a condition problem — temperature, humidity, or ethylene load — rather than isolated harvest damage.
These decision rules fit inside a brief visit. You're not running a diagnostic; you're confirming stability or finding the one thing that needs attention.
Building a Checking Schedule
How often to check depends on where you are in the season.
First four weeks after filling the space: visit weekly. Newly stored crops and a newly loaded storage space are still finding their equilibrium. Temperature and humidity fluctuate more during this period, and any damage from handling or harvest will emerge in this window. Weekly checks catch problems while they're still isolated to one bin.
Once conditions stabilize: every two weeks is enough for a space that's performing well. Tighten back to weekly when outside temperatures are shifting quickly — the weeks of rapid early-winter cooling, or any stretch of unusual warmth mid-season.
Each visit follows the same short sequence: note the thermometer and hygrometer reading, scan each crop group for the five signals, remove anything compromised, note anything changing faster than expected. That's it. The total time is 10–15 minutes.
When you're ready to build this checking habit into a structured month-by-month routine — with specific decision rules for each period of the storage season — The Simple Storage Routine is the next step in this series.
Your Storage Is Already Talking to You
You don't need an array of sensors to know whether your storage space is working. You need a framework for reading what it's already showing you — and the discipline to show up regularly to inspect.
Observation catches most problems before they spread. A thermometer closes the gap between what you can feel and what the crop actually needs. A hygrometer closes the humidity gap once temperature is confirmed. Each instrument earns its place at the point where the question it answers starts to matter — not before.
The growers with consistent home storage outcomes aren't the ones with the most equipment. They're the ones who check carefully, act on what they find, and don't wait for things to go visibly wrong.
Next: The Simple Storage Routine turns these checks into a practical month-by-month maintenance plan — what to do in early winter, mid-season, and as crops begin to run their natural course.
This is Guide 3 in the Harvest Storage Education series. Begin with Setting Up Your Home Storage for the foundation, or revisit crop separation in Managing Ethylene Conflicts in Home Storage.
Need help?
Ask support if you have any questions about food storage.