
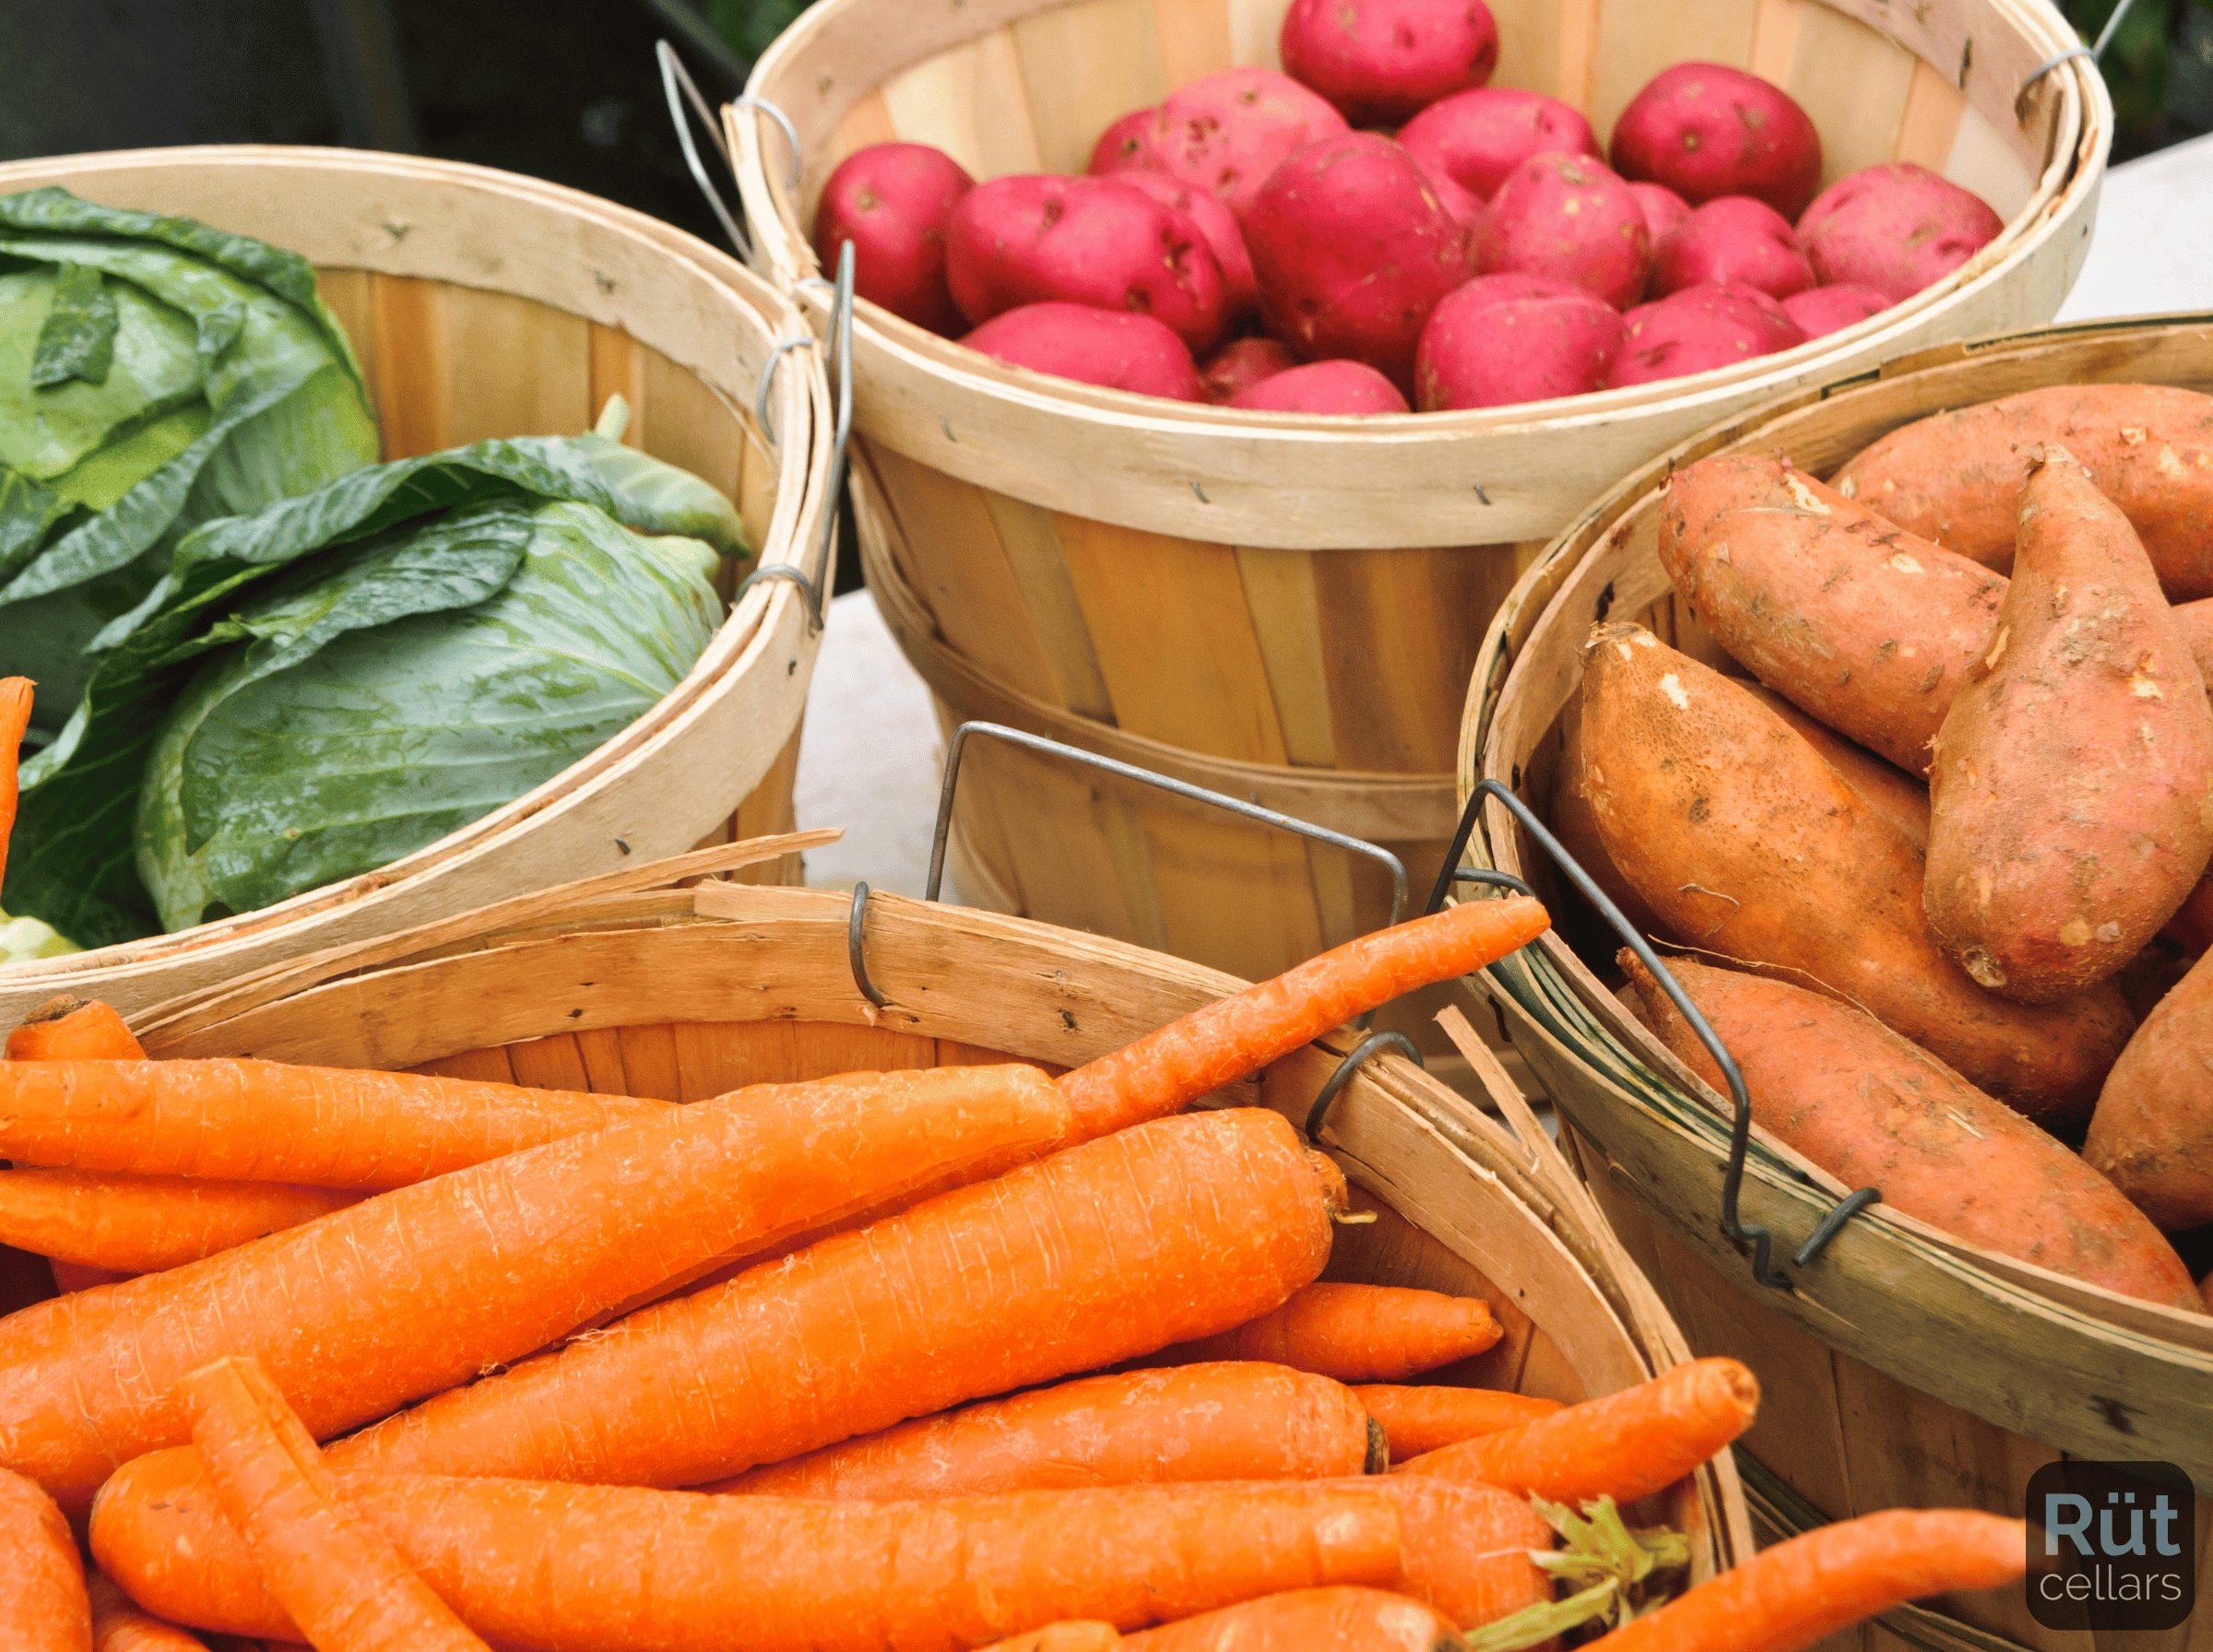
Setting Up Your Home Storage
Choose a workable home storage space, build simple crop-appropriate zones, and protect your harvest before bins start competing for the same corner.
The crates are in from the garden and the harvest is ready to move. You have a basement corner in mind, maybe a garage shelf, maybe both. The question isn't whether to store vegetables at home for winter — it's where to start, and why a single corner won't work for every crop.
That distinction matters more than it sounds. University of Maine Cooperative Extension research notes that losses from improper storage and handling can range from 10 to 40 percent of a harvest [1]. That is a meaningful share of the work you spent a season doing.
You don't need a dedicated root cellar to store your harvest through winter. You need to match your crops to the conditions your home already offers. This guide walks you through reading your available spaces, building three practical zones, and getting the layout right before the bins arrive.
Read the Space Before You Move the Bins
Storage location is a conditions question, not a room-name question. A basement isn't automatically cold and humid. A garage isn't automatically stable. The conditions in any space vary by wall, shelf, and season — and the only way to know what a space offers is to measure it.
Before you commit crates to a corner, walk through the spaces you might use and ask three questions:
- How cold or warm does it stay, day and night, as the weather changes?
- Does it hold moisture or dry out the crop?
- Can air move through without creating a constant draft?
University of Maine Cooperative Extension groups storage needs into three facility bands: cold storage at 32 to 36°F, cool storage at 40 to 55°F, and warmer storage at 55 to 60°F for crops such as sweet potatoes, squash, and pumpkins [1]. Those bands are a diagnostic framework, not aspirational targets. A space that can't reach or hold a band for a given crop isn't the right space for that crop.
Put a thermometer and a hygrometer — an instrument that measures relative humidity — where the produce will sit, not at the door. Check readings across a few days as outdoor temperatures shift [1]. The corner that felt cool in September may be warmer than you expect by November.
Three Zones for Storing Vegetables at Home
Most home setups don't require three separate rooms. They require three separate conditions. Once you know what your available spaces can actually hold, you can assign crops to match.
| Zone | Temperature | Humidity | Key crops |
|---|---|---|---|
| Cold & humid | 32–36°F | 95–100% RH | Carrots, beets, cabbage, turnips, parsnips |
| Cool | 40–45°F | 90% RH | Potatoes (tablestock) |
| Warm & dry | 55–60°F | 50–75% RH | Winter squash, sweet potatoes, pumpkins |
| Cool & dry | 32°F | 65–70% RH | Cured onions, garlic |
Source: UMass Extension fall storage conditions table [2]
Cold and humid: roots and brassicas
The coldest, most humid location you have — often a basement corner, particularly on a north or east wall where the exterior stays coolest — is the place for carrots, beets, cabbage, and related crops. UMass Extension places carrots and cabbage at 32°F and 98 to 100 percent relative humidity for long storage [2]. Beets, turnips, and rutabagas hold well at similar conditions.
High humidity at these temperatures limits water loss from crops that lose it quickly. It does not mean water pooling in bins or wet containers. Use containers you can wash, remove any crop that begins to soften or decay, and check periodically for condensation on walls or crates — a sign that ventilation adjustment may be needed [1, 3].
Cool: potatoes need their own plan
Potatoes belong in a cooler but not near-freezing space. Extension guidance places tablestock potatoes at 40 to 45°F with 90 percent relative humidity [2]. That's meaningfully warmer than the 32°F range for carrots and cabbage.
If your basement has a range of temperatures — a warmer section away from the foundation, a slightly insulated cabinet, a shelf off the floor — that zone may be the right potato space. Potatoes stored too close to 32°F can convert starches to sugars faster than you want, affecting flavor and texture.
Potatoes also need darkness. Light exposure causes greening and the buildup of compounds that affect flavor [3]. A covered crate or an opaque bin out of ambient light handles this cleanly.
Warm and dry: squash, sweet potatoes, and cured alliums
Winter squash and sweet potatoes require warmer storage than most growers expect. Extension sources place them at 55 to 60°F — and winter squash can suffer chilling injury below 50°F, with decay accelerating after that threshold [2]. The cold basement corner that works perfectly for carrots is actively harmful to a butternut squash.
A pantry shelf, a spare room, or a warmer basement area can serve this role. Cured onions and garlic also belong in a dry, well-ventilated spot with low humidity — around 65 to 70 percent [2] — which puts them in a different condition category from roots and brassicas even if the temperatures overlap.
Assign each crop group to a specific, named spot. Write it down. The naming prevents the default of putting everything together in one unmanaged space.
What Crops Need Before They Enter Storage
The setup is only as good as the crop entering it. Several common storage crops need curing — a controlled-conditions period immediately after harvest — before long storage begins. Skipping this step shortens storage life regardless of how good the conditions are afterward.
Nebraska Extension NebGuide G1264 provides specific curing requirements [3]:
- Potatoes: Cure at 60–70°F, 80–90% relative humidity for 10–14 days, then move to storage temperature.
- Onions: Cure at 60–80°F, 40–50% relative humidity for 7–14 days.
- Pumpkins and winter squash: Cure at 80–85°F, 80–90% relative humidity for 7–14 days, then move to 55–60°F storage.
- Sweet potatoes: Cure at 80–95°F, 95% relative humidity for 10 days, then move to 55°F storage.
Curing allows surface wounds from harvest to heal and outer skins to set properly. A freshly dug potato is not the same storage-ready crop as one that has spent two weeks at proper curing conditions. Carrots, beets, and cabbage generally don't require curing — they can move to cold storage after any damaged outer leaves or roots are removed.
Let Air Work Without Turning It Into a Draft
Ventilation is a control, not a fixed setting. University of Maine Extension identifies high air velocity as a factor that increases transpiration — the water loss from harvested produce — which accelerates shrinkage and quality decline [1]. Constant airflow is not the goal; managed airflow is.
A few practical habits make the difference:
- Leave space between containers and the wall so you can inspect both the crop and the surface behind it.
- Use slatted crates, mesh bags, or ventilated bins rather than sealed plastic totes that trap moisture and make inspection difficult.
- Adjust vents or windows seasonally rather than leaving them open through cold nights and mild afternoons alike.
- Don't solve every humidity problem by adding more air movement — a dry draft can exchange rot for shriveling.
If you notice persistent condensation on surfaces, a sour odor, or active mold, remove affected produce first. Then check whether the problem is excess moisture, poor air movement, temperature variation, or overcrowding. The right fix differs for each cause.
Build the Layout Before the Harvest Arrives
Once you know what each space can hold, put the layout together before harvest pressure forces quick decisions. A few labeled spots matched to your crops are more useful than a larger space organized under urgency.
Work through these steps before you move any produce in:
- List the crops you plan to store. Group them by zone: cold and humid roots and brassicas, cool potatoes, and warm or dry squash and alliums. For any crop you're unsure about, check the UMass Extension fall storage conditions table [2].
- Assign each group to a specific, real location you've already measured. Not "the basement" — the northeast corner below the window, or the shelf beside the bulkhead.
- Label each zone. A strip of tape and a marker takes ten seconds. "Cold roots," "potatoes," and "squash shelf" prevent the drift that fills every available space with a mix of incompatible crops by November.
- Add washable shelving, bins, or crates. Containers you can rinse between seasons reduce decay carryover. Keep bins accessible — stacked floor-to-ceiling is capacity you cannot check [1, 3].
- Leave a working aisle. You'll check this space regularly. If you can't reach a crate without moving three others, you won't check it as often as it needs.
- Measure once the produce is in. Temperature and humidity can shift when a space fills with crop mass. Record the range over a few days as outdoor conditions change [1].
Realistic capacity is the amount you can inspect, rotate, and remove when something starts to turn. That number is almost always smaller than total volume.
Your Setup Is the First Separation Decision
Before you close the door on a full storage space, think about one more grouping: fruit and vegetables. Apples, pears, and other ripening fruit produce ethylene gas as they ripen. Several common storage vegetables are sensitive to ethylene — carrots become bitter with prolonged exposure, and cabbage leaves yellow and wilt faster than they otherwise would [2, 4].
If you're storing ripening fruit in the same general space as these vegetables, put them in a deliberately separate zone. A second bin, a different shelf, a cooler across the room — the physical distance matters more than any particular container.
This isn't a specialty technique. It's the natural consequence of matching crops to zones. Once your zones are assigned, adding fruit to a fruit zone rather than the root zone is straightforward. The next guide explains exactly why it matters and how to work with limited space.
Protecting the harvest starts with reading the space
Home vegetable storage works when you treat your available spaces as sets of conditions rather than rooms with names. A basement corner, an unheated garage, a pantry shelf, or a spare room can each serve a part of your harvest — if you assign the right crop to the right zone and build the layout before the pressure of harvest week arrives.
Who this applies to: Any home gardener or bulk-buyer storing fresh vegetables through winter — whether you have a dedicated cellar or a corner of a basement.
When it matters: Before the harvest moves in. The crop groupings, zone labels, and measurements take far less time before the bins arrive than after the first crate of soft carrots shows you the problem.
Where to apply it: Any space you can measure and monitor — basement, garage, cool room, or pantry.
Why it matters: Losses from improper storage and handling can reach 10 to 40 percent of a harvest [1]. A few deliberate zone decisions early in the season protect that investment through winter.
How to start: Measure the temperature and humidity in each candidate space. Match your crop groups to the bands they need. Build the layout, label the zones, and leave room to inspect.
Your next steps in this series:
- Managing Ethylene Conflicts in Home Storage — why some crops can't share air, which ones produce ethylene, and practical separation strategies for limited home spaces
- Checking Your Storage — what to look for during regular checks, when simple tools help, and how to build a realistic inspection routine
- The Simple Storage Routine — a month-by-month maintenance plan that fits a normal life without turning storage into a second job
Field rule: Start with the conditions your space can actually maintain. Build cold, cool, and warm-dry zones around that reality. Keep ripening fruit separated from ethylene-sensitive crops. Leave enough room to see and reach what you've stored.
Sources
- 1web-university-extension: [University of Maine Cooperative Extension: Storage Conditions: Fruits and Vegetables (Bulletin 4135e)](https://extension.umaine.edu/publications/4135e/)
- 2web-university-extension: [UMass Extension: Optimal Storage Conditions and Ethylene Sensitivity of Fall Storage Crops](https://www.umass.edu/agriculture-food-environment/vegetable/fact-sheets/optimal-storage-conditions-ethylene-sensitivity-of-fall-storage-crops)
- 3web-university-extension: [Nebraska Extension NebGuide G1264: Storing Fresh Fruits and Vegetables](https://extensionpubs.unl.edu/publication/g1264/na/html/view)
- 4web-university-research: [UC Davis Postharvest Technology Center: Compatibility Chart for Short-term Transport or Storage](https://postharvest.ucdavis.edu/compatibility-chart-short-term-transport-or-storage)
Need help?
Ask support if you have any questions about food storage.